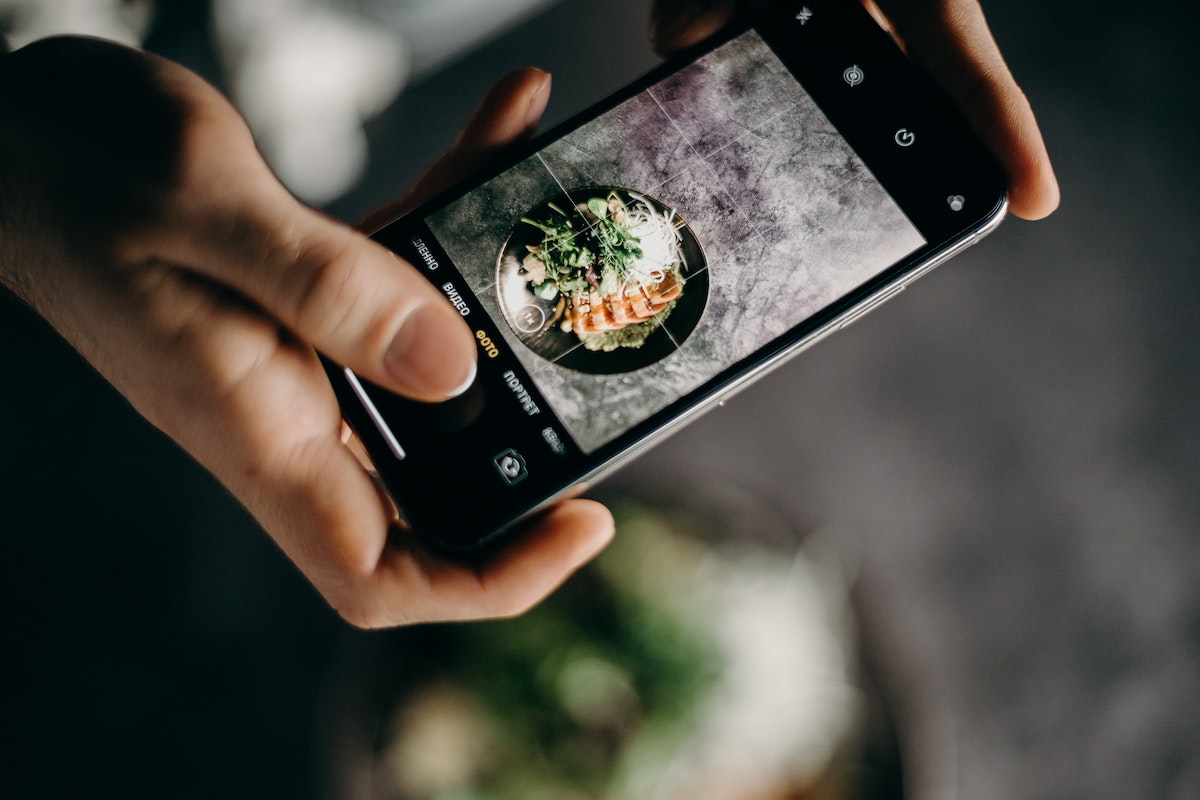
Food photography is one of the most popular photography types. Since the rise of social media, it has been a top choice for professional photographers all over the globe. But why exactly is food photography considered a good area to focus on? Easy – Have you ever been inspired to buy a burger after seeing a picture of one on social media? Well, that’s the power of food photography. Learning the craft of food photography can be exciting and challenging at the same time. But the best thing is that anyone can do it! You need to know some tips for food photography to get started.
Prepare to become a food photography pro as we reveal our secrets for taking mouthwatering pictures of your favorite dishes!
Food Photography Tips for Beginners

If you run a food business, learning how to take great food photos is essential. It can help you attract more customers and earn more income. Food bloggers can also benefit from these because they will give their audiences a clearer picture of the food they’re featuring.
So, whether you’re learning to capture food for your business or blog or simply to improve your food photography skills, keep the following tips in mind:
-
Be mindful of the plating
Chefs use the term “plating” to describe the aesthetic arrangement of food. Plating is also essential when it comes to food photography. Since the viewer has only a photograph to go on, careful plating is necessary to convince people that the food is as delicious as it looks.>
To make your plating, concentrate on one ingredient and use the available space to streamline the presentation. Next, make your plating well-balanced by experimenting with the food’s colors and textures. Finally, focus on your main ingredient and the accompanying garnishes, sauces, and plates.
Following all these
-
Pick the right surface
The surface where you’ll place the plated food also matters in food photography. For this beginner tip, use wooden cutting boards or picnic tables to create a rustic, homey feel for foods like burgers and fries. If you want to give the food a colorful pop, use white plates.
When selecting plates, prioritize those that complement the food’s style and highlight its best visual qualities.
-
Frame your shot
Another thing to consider in food photography is composition. In photography, “composition” refers to how the subject and background are positioned within the frame. It also gives the photos more depth. The easiest way to do this is to follow the “rule of thirds.”
Composing images using the rule of thirds is a tried-and-true method. It’s also one of the important factors when doing food photography with a phone. Applying a grid to your phone or camera will allow you to practice the rule of thirds. Placing compositional elements along these grid lines can help you achieve visual harmony and rhythm within your image. To learn more about composition, check out Nadav Berenstein’s photography, where he accurately practiced the rule of thirds in his photos.
-
Use props
Sometimes, capturing the food in your photography isn’t enough. So, we use props to enhance realism. Props aid in creating layers, adding texture, and ensuring balance in the frame, all of which enhance the image’s visual appeal and keep the viewer’s interest.
Here’s a tip for food photography: you don’t need flashy props for food photos. This is because you want the food to be the main attraction. So, it’s preferable to use non-distracting, neutral-colored props.
In food photography, props serve both an aesthetic and practical purpose. For example, putting the soup in a bowl first is sensible if you run a soup business because you can’t place liquids on a flat surface. When it comes to its aesthetic purpose, it adds texture and detail to the soup you’re selling. If you add extra materials that expand on the product’s story, you increase its appeal and, consequently, its chances of being purchased.
On that note, here are some props to use when you’re doing camera or phone food photography:
- Wooden boards
- Marble slabs
- Variety of utensils
- Parchment paper
- Bowls and plates
- Decorative straws
-
Play with lighting
Lighting is everything when photographing food. Food photographers should be cautious of poorly executed lighting because it can change how their photos turn out. Lighting can be tricky, but with the correct information and equipment, you’ll be an expert in no time.
If you’re a beginner in food photography, you might want to learn natural lighting first. The sun serves as the source of natural light photography. The amount of accessible sunlight changes throughout the day. A sunny day offers complete illumination, while an overcast day can give a photographer texture and nuance.
To practice natural lighting in food photography, one of our tips is to set up near a window. Window lighting will give you plenty of light to start. You can also add modifiers such as light diffusers to adjust the lighting and get the best results. If you’re working in direct sunlight, place a diffuser between the window and the food.
You can also utilize artificial lighting in food photography. Any light that doesn’t come from the sun is considered artificial. There are various artificial lighting options for food photography. Here are some of the best photography lighting kits to buy if you’re willing to splurge.
And, because lighting is king, here are some more lighting tips for food photography that you should know.
Lighting Tips for Food Photography

- Avoid front lighting
Backlighting is preferable for food photography because it softens shadows and highlights without sacrificing definition. This can give the impression that the food has more flavor and color.
- Utilize side lighting
Some foods, like bread, cheese, and meat, benefit from side lighting to highlight their shadows and details. This is crucial when shooting photos of foods like burgers and sandwiches, which feature various textures.
- Keep an eye out for dark shadows
While bringing out the food’s textures is crucial, overly dark lighting can make it look unappetizing. As a final piece of advice for amateur food photographers, try moving the light or the camera to create a more flattering lighting effect and bring out the food’s textures. Additionally, softer lighting can aid in preventing harsh shadows. When working in a studio, it can be helpful to use a reflective surface to reflect either artificial or natural light onto your subject.
Take the Most Appetizing Photos With Our Food Photography Tips!
Food photography is an art. It’s a great way to showcase the best-tasting foods. While these tips for food photography will help you take more appealing photos of your food, don’t be afraid to experiment! People are more likely to pay attention to your food photography if you take a unique approach. The goal should be to pique people’s curiosity and, ideally, their taste buds.
So, grab your cameras and start your journey to becoming a food photography pro!