Photography is a gratifying hobby. It captures memories, allows you to share your experiences with others, and gives you a creative outlet. But if you’re new to photography, it can be daunting to know where to start. What kind of camera should you buy? What settings should you use? And how do you make sure your photos turn out looking great?
Don’t worry, certain things can help you today. By the end, you’ll better understand how to get started in photography and what equipment, settings, and techniques you need to know about. So let’s get started!
Equipment
The first thing you need to know about photography is that it doesn’t have to be expensive. Sure, if you want to invest in high-end gear, that’s fine–but it’s not necessary. Many professional photographers started with simple point-and-shoot cameras before moving on to more advanced equipment.
That being said, there are a few things you’ll need regardless of what kind of camera you’re using:
- Tripod: A tripod will help keep your camera steady and prevent blurry photos. A good tripod is a three-legged Thing Winston 2.0. This tripod is lightweight yet sturdy enough to handle heavy cameras. The average cost is around $150.
- Tilt-shift lens: If you want to take photos of large, expansive scenes (such as city skylines or landscapes), a tilt-shift lens can help. This lens creates a shallow depth of field that makes your subject stand out against the rest of the scene. Unfortunately, the average cost is around $1,000.
- Remote shutter release: A remote shutter release is an electronic device that allows you to take photos without touching the camera. This can be useful for avoiding blur caused by camera shake, especially when shooting in low light or at night. The average cost is around $20.

Settings
Once your equipment is sorted out, it’s time to start thinking about Settings. The three most important settings on your camera are aperture, shutter speed, and ISO. The aperture controls how much light comes into the lens.
A low aperture (f/2.8 or lower) lets in more light and is suitable for low-light situations like concerts or nighttime photography. Conversely, a high aperture (f/11 or higher) lets in less light and is ideal for bright situations like daytime shootings or landscapes.
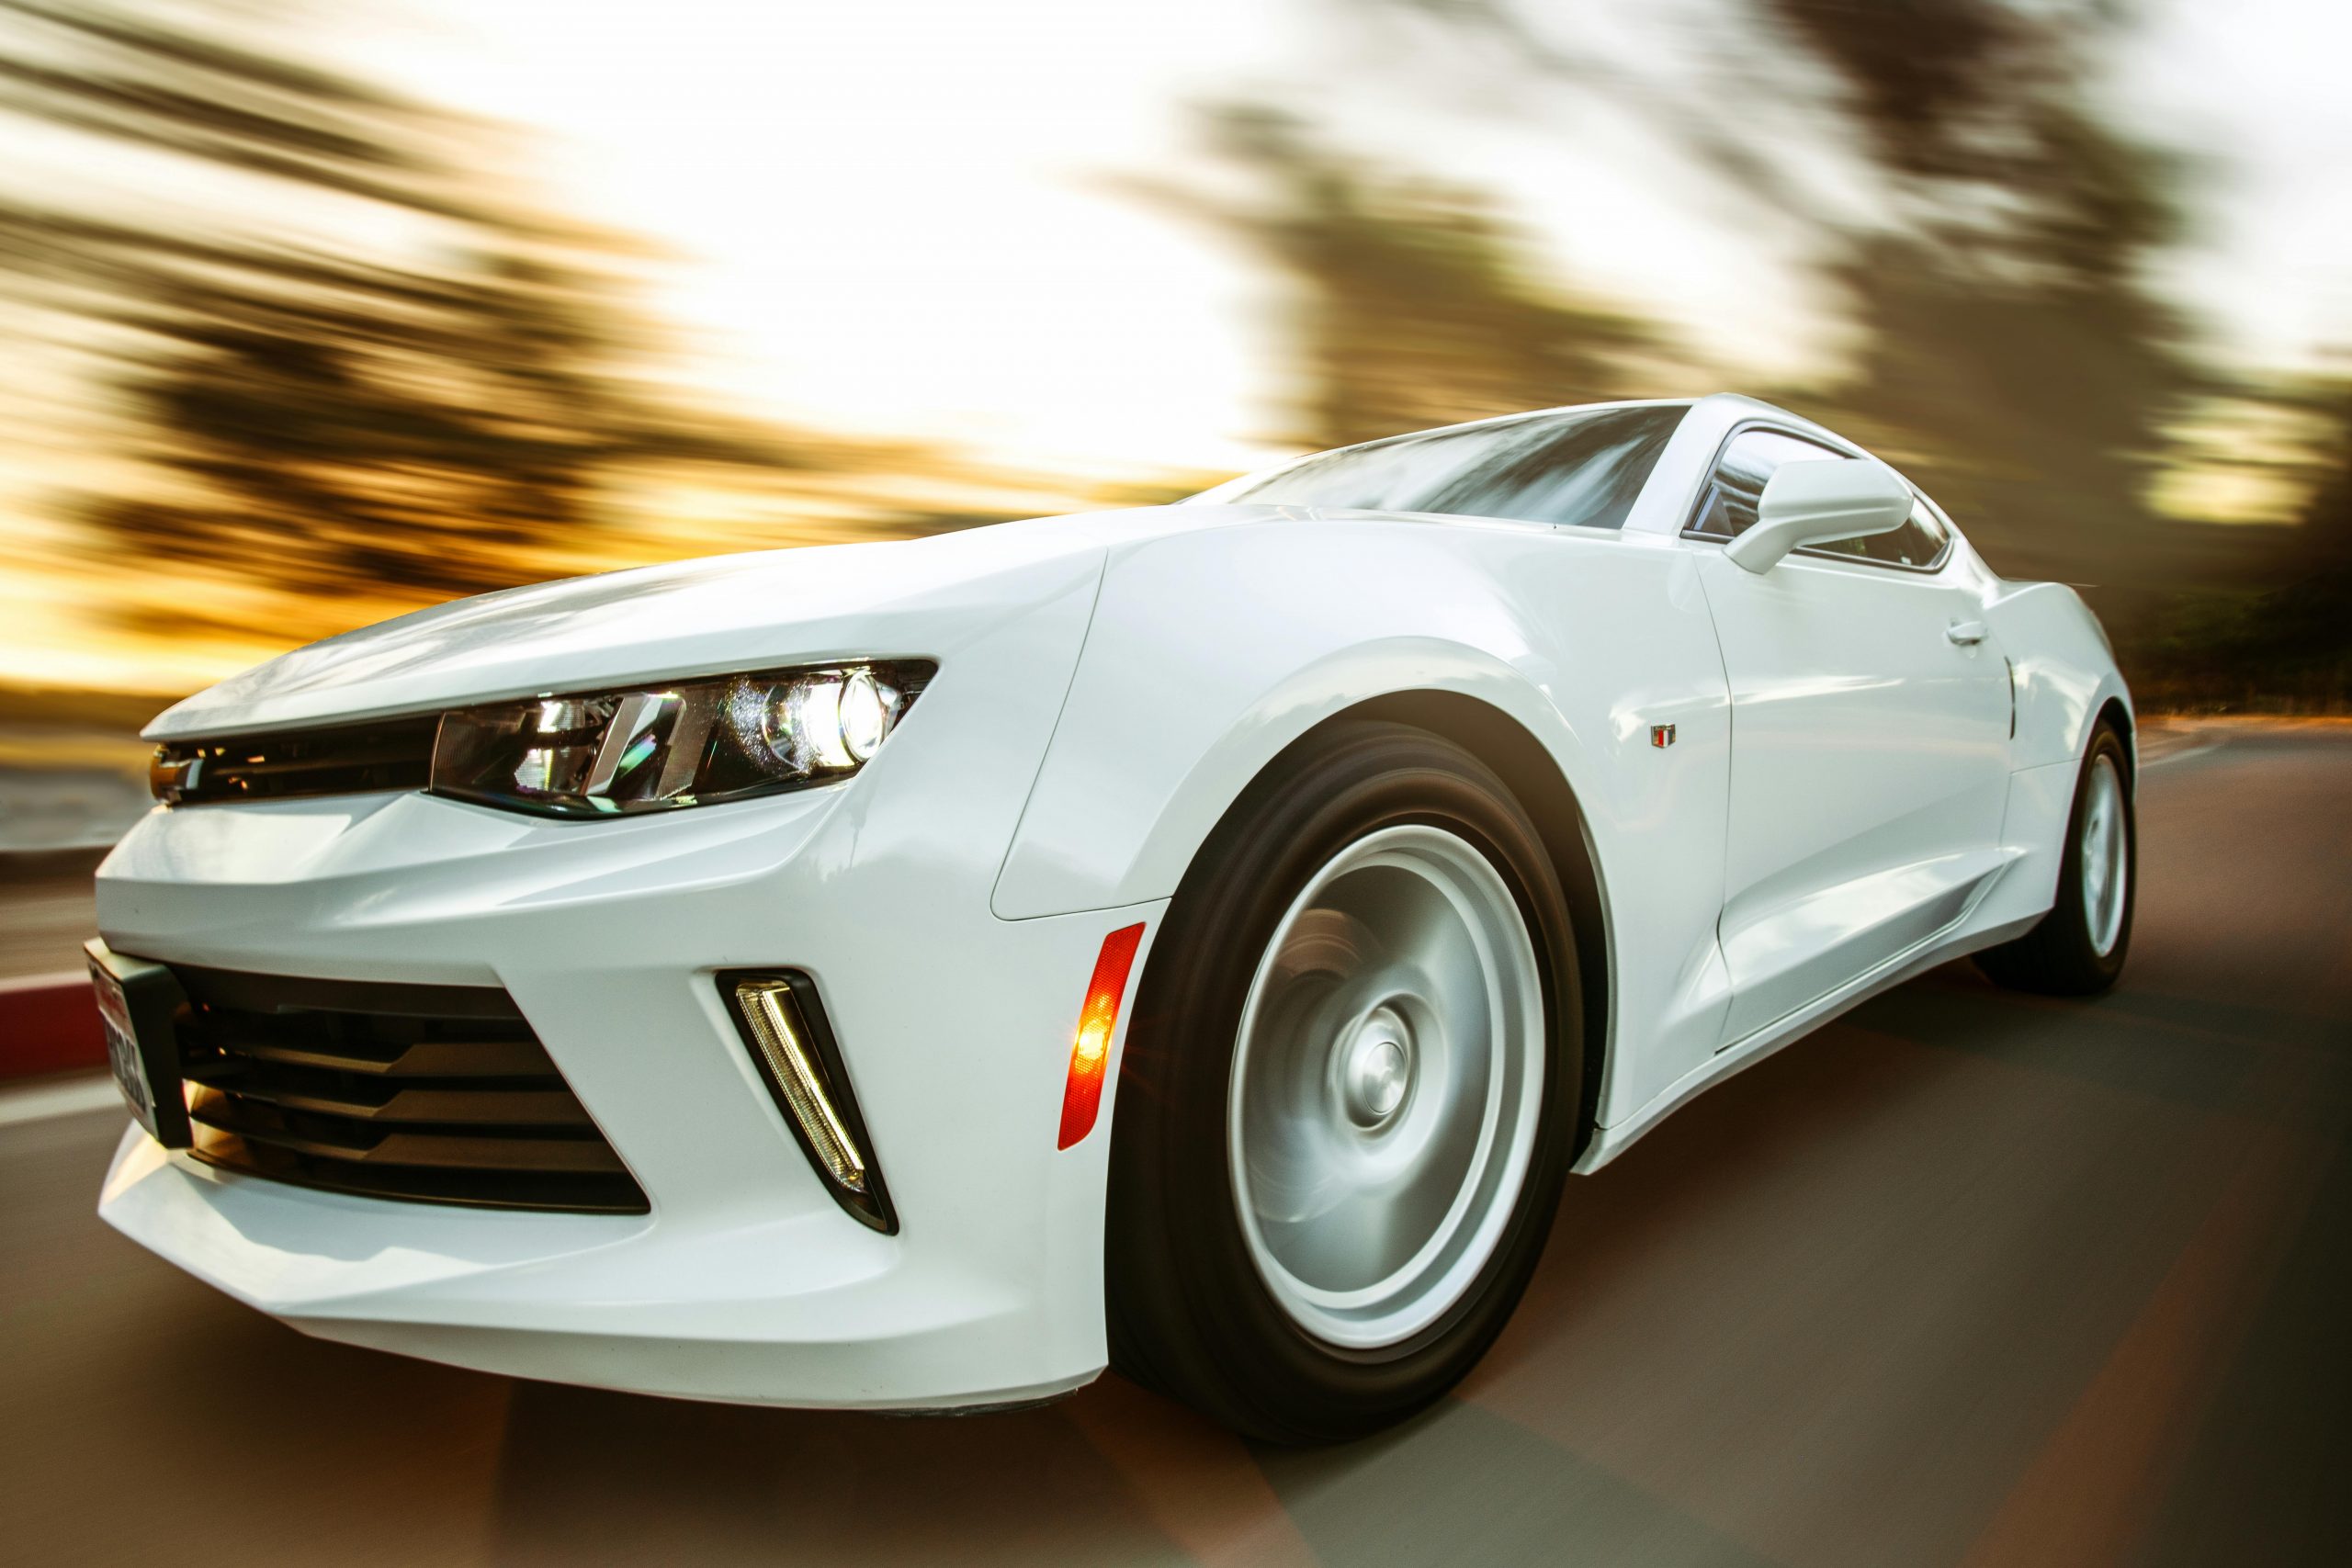
Shutter speed controls how long the shutter is open and exposed to light. A fast shutter speed (1/500 or higher) will freeze movement and is excellent for action shots like sports or wildlife photography. A slow shutter speed (1/15 or lower) will blur motion and is good for creative effects or photos of waterfalls or rivers.
ISO controls how sensitive the sensor is to light. A low ISO (100 or lower) produces less noise (grain) in the photo but requires more light. A high ISO (3200 or higher) makes more noise but requires less light–which can be helpful in low-light situations.
Techniques
Now that you know about Equipment and Settings, it’s time to start thinking about Techniques or how you use your camera and gear to take great photos. Of course, there are endless possibilities when it comes to taking pictures, but here are a few basic techniques that all photographers should know:
- The Rule of Thirds: The Rule of Thirds is a compositional technique that involves mentally dividing your frame into thirds both horizontally and vertically and then placing your subject along those lines or at the intersections of those lines. This creates a more balanced and exciting photo than if your subject were placed dead center in the frame.
- Leading Lines: Leading lines are elements in your photo that lead the eye from one part of the image to another–such as a road leading into the distance or a line of trees receding into the background. They can be used to create depth, direct attention toward the photo’s main subject, or both!
- Framing: Framing is a technique that uses elements within the scene to frame your subject matter–such as doorways, windows, arches, etc.–giving your photo a more dynamic composition while also drawing attention to your primary subject matter.
Enhancing Your Image
Lastly, you should learn how to enhance your photos in post-processing. Many types of photo editing software are available, such as Photoshop or Lightroom. Still, the basic techniques you should learn include adjusting brightness and contrast, cropping and resizing, color correction, and applying filters or special effects. However, if you don’t want to go through the hassle of these things, consider hiring image enhancement services. You can hire these services in the comfort of your home. All you have to do is upload your photos to their website, and they will make your photos look amazing!
When it comes to photography, there are a lot of things you need to know. But by applying these techniques and learning more about your camera and equipment, you can take amazing photos that you will love to look back on for years to come!